


Description
DIY Kits 2P2 Electronic Tube Single Lamp Medium Wave Radio 2P3 Radio
Descsrption:
The magnet bar coils need to be wound by yourself! With yarn wrapped and enamelled wire.
Suitable for 2P3 case. Case not included! Batteries and speakers (not available) are also not included.
Important note: the sound of a single tube machine without an antenna or amplifier is too low! Very impractical!
Small amplifier on the phone with input line Bluetooth speakers or computer speakers can be used, the first debugging should be connected!
And can only receive a few strong stations, so this kit is only suitable for DIY enthusiasts to play.
After the completion of the effect of listening can not be achieved on the go! Send MP3 headphones and 3.5 to 6.5 seat.
Kit Description.
Potentiometer with switch and regenerative adjustment.
DC battery 14500 lithium 3.7 and 9 volt supply, screen voltage 9V. Screen current less than 0.5mA.
Filament 2.4 volt supply: 7 pins positive, 1 pin negative, 5 pins empty. Filament current 30mA.
Lamp low block illuminated red LED 2.4V supply, current limiting resistor 150 ohms. LED current 16mA.
Transformer impedance conversion available after low resistance 8 - 32 ohms headphone listening.
No transformer can be used to listen to high resistance 2000 - 4000 ohms headphones.
Reference finished product diagram:


The coils have to be wound by themselves. Primary 3 - 4 approx. 85 turns Regenerative 5 - 6 approx. 10 - 30 turns
Case not included Battery and horn! The single tube machine can't take the horn either.

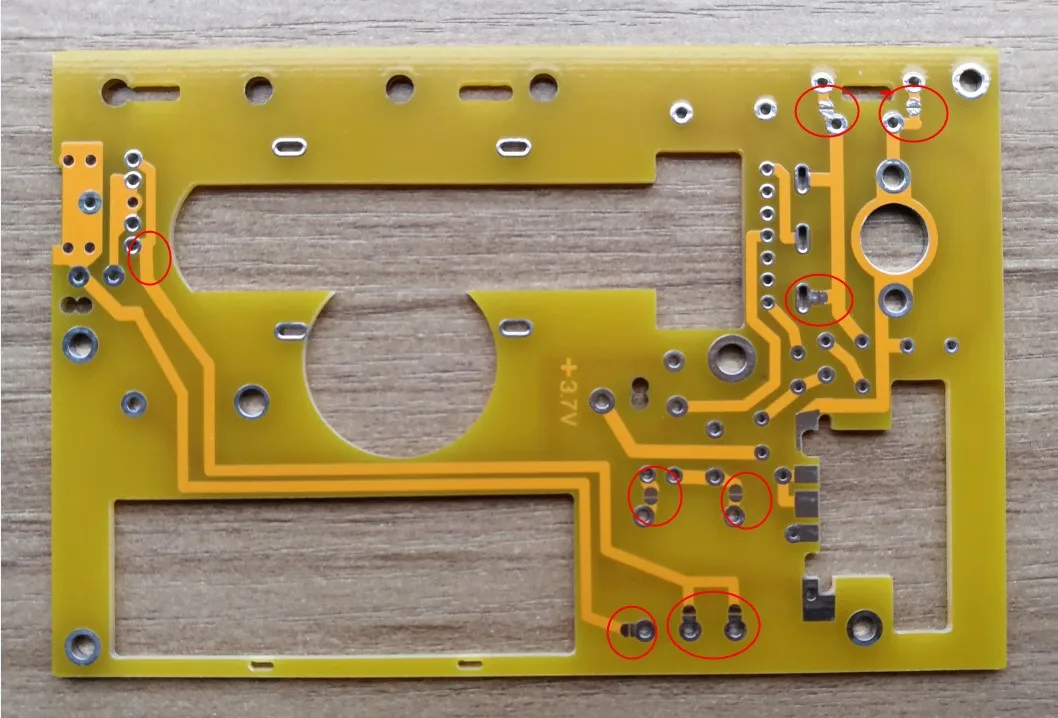
First weld the 7 foot tube holder, ensure that the bottom surface of the tube holder and the small plate tightly and flush, after welding cut off the protruding solder feet.
Then weld the LED, welding to pay attention to the height, the top surface should be flush with the top of the tube holder, in order to have a better luminous decorative effect.
Finally, weld the current limiting resistor, cut the leads short, at this time to weld the resistor surface of the pad.

First solder the potentiometer small board vertically to the main board, then solder the potentiometer.
The variable capacitor should be soldered after the soldering and adjustment of the electronic tube holder small board.

The electronic tube has to be inserted into the soldered small board upper holder first, and tied flush with the board with a cable tie.
The lamp holder small board should also be perpendicular to the motherboard after soldering the 7-pin row of pins.


The half-circle pad on the back of the board, with or without shorting, is used to select between access and non-access.
1. The antenna can be connected to only one antenna or grounded by winding 10 turns on the magnetic rod.
2. Variable capacitor with kit with 223P will need to be shorted to the variable foot pads, so that the two groups are connected in parallel.
3. With the transformer only solder 4, a line of 2 pads, solder the middle is connected to 8 ohms solder the side is connected to 32 ohms.
Use high resistance headphone transformer 5 pads are not shorted, with a line directly connected to the high resistance solder joints and headphone base.
4. headset seat such as insert 2 core 3.5 to 6.5 high resistance conversion plug, you need to scratch the following sound channel solder joints, so as not to short-circuit the sound signal.

Introduction to commissioning written by a forum teacher.
The 2P2 stand-alone light generally requires a good reception environment and a good earth and sky line set-up.
This regenerative radio generally receives the radio station is a bird call, then adjust the feedback knob to reduce the amount of feedback, the
The whistling sound is extinguished radio broadcast sound will come out. Adjusting the station selector knob at this point will make the frequency more correct and the station will sound a little louder.
The reception sound will be a little louder, but it will cause the signal feedback to be strong enough to cause a critical whistle, so adjust the feedback knob again to reduce the amount of feedback.
Adjust the knobs for station selection and feedback carefully several times, and the sound will be louder when adjusted to the optimum level.
If the sound of the radio station is still interspersed with whistling sound, it is too much feedback.
Adjust the feedback amount to the lowest amount also useless to reduce the feedback coil test.
If there is no bottom noise, you need to adjust the feedback knob to hear a bottom noise sound and then adjust the radio knob to select the station.
This is a feature of playing with regenerative radios. Variable resistor, adjusts the feedback very well. The downside is that it can make poor contact when worn out.
The filament is a big user of electricity, with a power of about 30 mA.
Receiving station sensitivity depends on the signal strength, and the amount of feedback relying on the feedback coil.
General reception of strong stations no problem, if the radio signal is weak, the single tube amplification capacity is limited, through the feedback will have a bird call, but adjust the feedback whistle to stop the signal.
But adjust the feedback whistle to stop the signal is very weak, the headset can hardly hear the sound.
But it cannot be said that there is no radio signal.
If you add another tube to amplify the radio signal, you will hear more of it.
Payment & Security
Your payment information is processed securely. We do not store credit card details nor have access to your credit card information.